Thank you for choosing Made in the USA products, its helps our small business so much!

Building a Custom Epoxy Bar Top: A Statement Piece for Any Space
Blog post description.
3/20/20251 min read
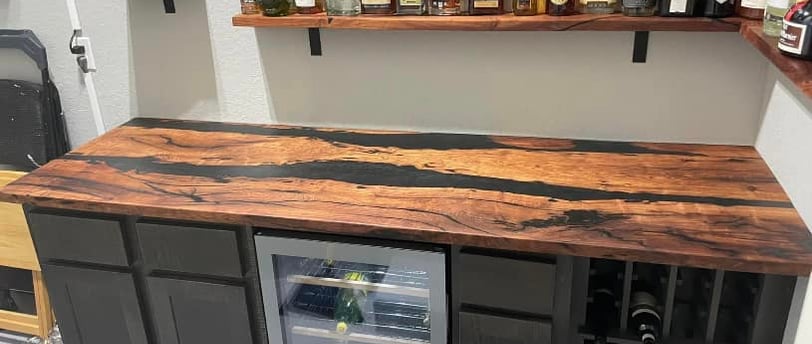
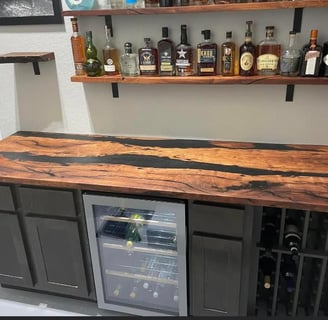
A custom epoxy bar top is more than just a functional surface—it’s a bold centerpiece that elevates any space, whether it’s a home bar, restaurant, or man cave. Epoxy allows for stunning, one-of-a-kind designs, from crystal-clear finishes to mesmerizing river effects and embedded elements like coins, bottle caps, or LED lights.
Step 1: Choose Your Base Material
Start with a sturdy wood slab, such as live-edge walnut, maple, or reclaimed wood. Ensure it's properly sanded and sealed to prevent bubbles in the epoxy.
Step 2: Build a Mold & Prep for Pouring
If you’re creating a full epoxy slab, build a mold using melamine boards and seal the edges with silicone to prevent leaks. For a traditional wood-and-epoxy bar top, use painter’s tape to protect edges and prevent spills.
Step 3: Mix & Pour the Epoxy
Choose a high-quality, heat-resistant epoxy. Mix it according to the manufacturer’s instructions, adding pigments, metallic powders, or even glow-in-the-dark elements for extra flair. Pour in layers, using a heat gun or torch to remove bubbles.
Step 4: Sand & Finish
Once the epoxy has fully cured, sand it down to a smooth finish. Start with coarse grit and work up to 1000+ grit for a glass-like sheen. Finish with a durable topcoat for long-lasting protection.
Step 5: Install & Enjoy
Secure your new bar top in place, whether on custom cabinetry, a barrel base, or metal legs. Then, step back and admire your masterpiece—built to impress and last a lifetime!
Final Thoughts
A custom epoxy bar top is the perfect blend of craftsmanship and creativity. Whether you opt for a sleek modern look or a rustic, nature-inspired design, the possibilities are endless. Ready to build yours? Let your creativity flow and start crafting!